Instructions on how to post the app on the app store
Create iOS distribution provisioning profiles and distribution certificates
Create iOS distribution provisioning profiles and distribution certificates
The development provisioning profile and development certificate you are using are only for specific devices. To distribute your app to beta testers or to users through the App Store, you'll need a separate distribution license profile and distribution certificate.
The easiest way to do this is through Xcode. If automatic signing is enabled, Xcode will generate and manage certificates, confirm identities, and handle device registration for you. If automatic signing is already on, or if you don't need help with this, you can skip to step two.
(In some cases, you may prefer Manual Signing. This is an in-depth guide on how to manually sign your app. Remember that all targets are in one package. must use the same signing method.)
Doing
First, add your Developer Program account to Xcode if you haven't already. From the top menu, select Xcode, then Preferences.
Click Account . In the bottom-left corner of the window, tap the + sign, then Add Apple ID… .
Enter the Apple ID and password you use for the Apple Developer Program, then click Sign In.
Next, enable automatic signing. From the Project Editor, select a target and select General.
Scroll down to the Signing section and click the triangle icon to expand the settings.
Click the box for Automatically manage signing. Choose your group.
When you connect a new device to your Mac, Xcode automatically detects and registers it to your team provisioning profile. Note that to launch your app on a device, that device needs to be registered on your team provisioning profile.
Create and connect App Store Connect for your app

Get an App Store Connect account by
Create your own App Store Connect and become a distributor of the team. Sign in with the Apple ID you used to sign up for the Apple Developer Program. (Apple Developer Program)
Or you were invited by an existing organization and granted permissions as admin, a user with the Administrator, Technician, or Application Manager role.
For paid apps
If you're submitting your app to the app store as a paid app, you'll need to sign a contract that includes payment terms. If your app is free you can skip this part,
Click Agreements, Taxes, and Banking on the App Store Connect dashboard.
Click Request under “Request Contracts”.
Review the contract agreement that appears, tick the box to agree to the terms and click “Submit”. (Submit).
Under “Contracts In Process,” click Set Up in the Contact Information column. (contact info).
In the window that appears, click Add New Contact and enter your information.
Go back to the "Contracts In Process" section in the "Banking Information" column, (Bank Info) click Setup (Set up) then Add a bank account (Add Bank Account) and follow instructions for saving your account information.
In the “Tax Info” column (Tax Info) click Setup . The US Tax form is required, so click Setup and fill in the required information. Set up any other country tax forms if necessary.
After you have done the above, the status of the contract will now be “In Process”. (Processing). After Apple verifies the information you provided, it will take about an hour for the contract to appear in the “Contracts in effect” section (“Contracts In Effect”.)
Add a new app
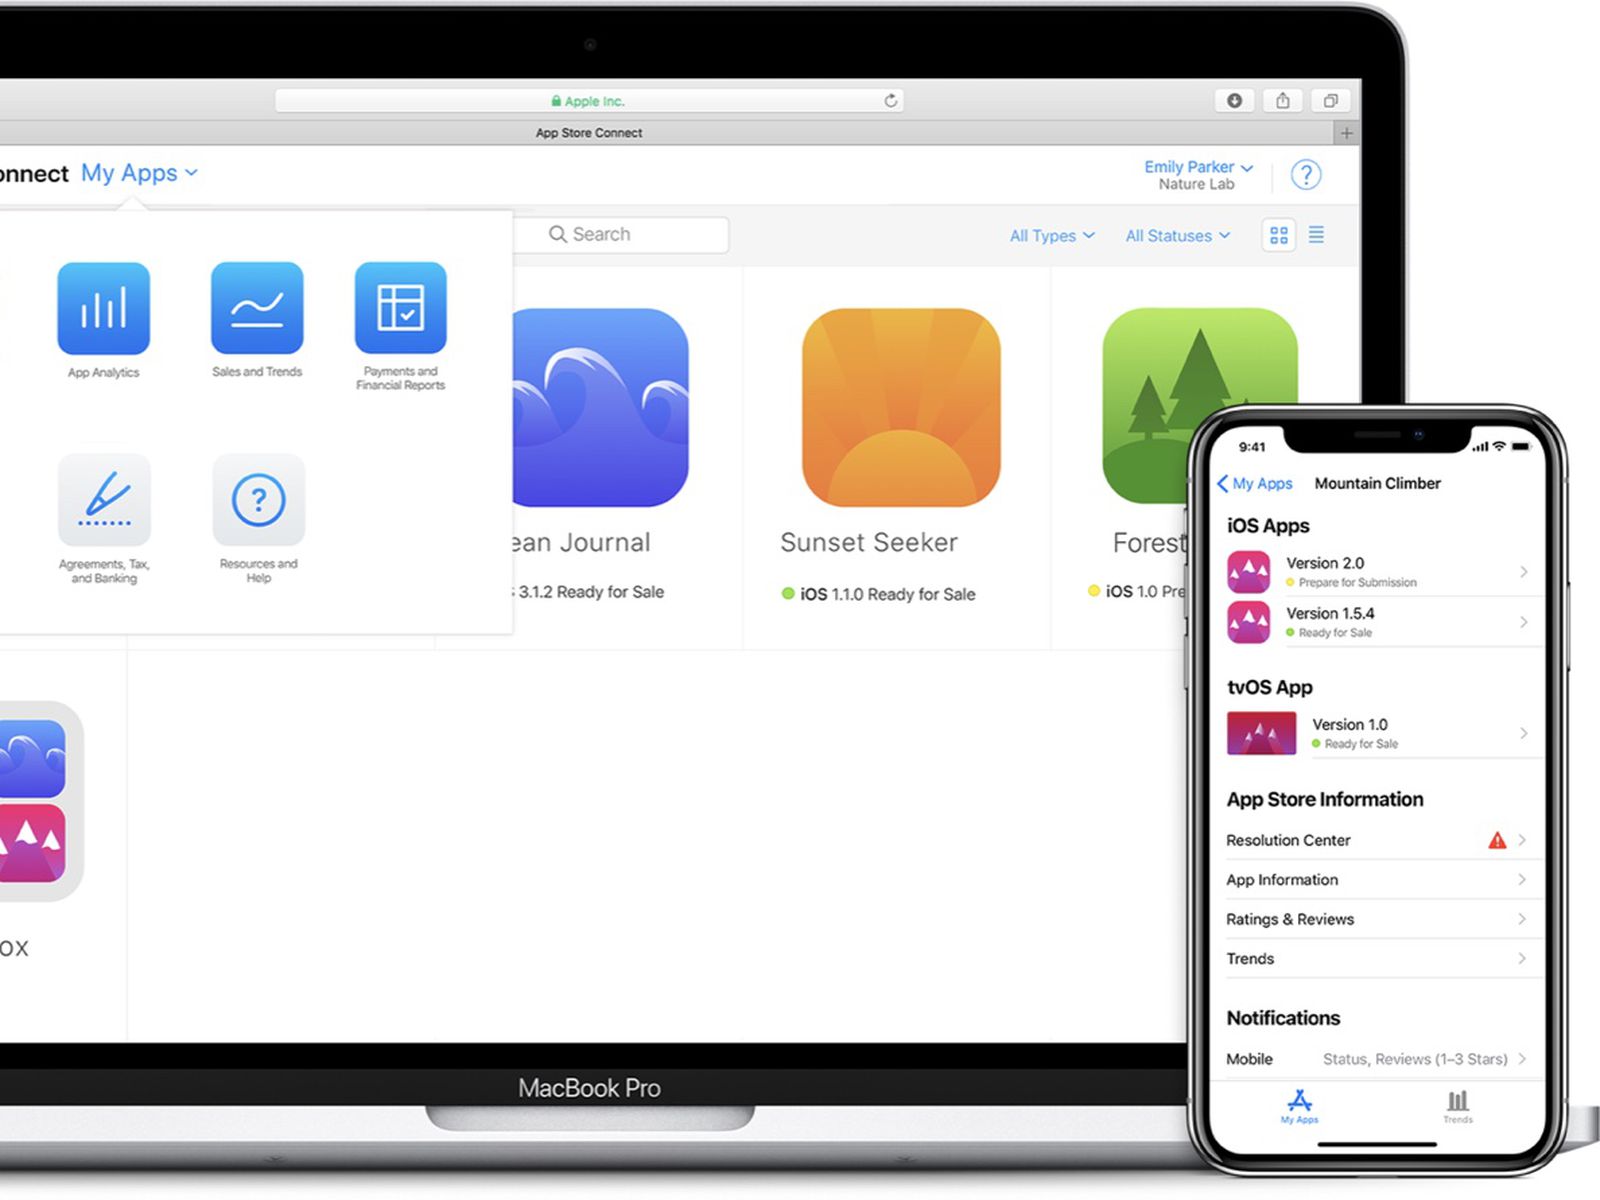
In the App Store Connect dashboard, select My Apps.(My Apps). Click the + in the upper-left corner, then click New App.
To create a new App Store Connect save, you'll need the following details: platform, app name, default language, plan ID, and SKU. You won't be able to change these details later, so be sure to enter them correctly in the first place.
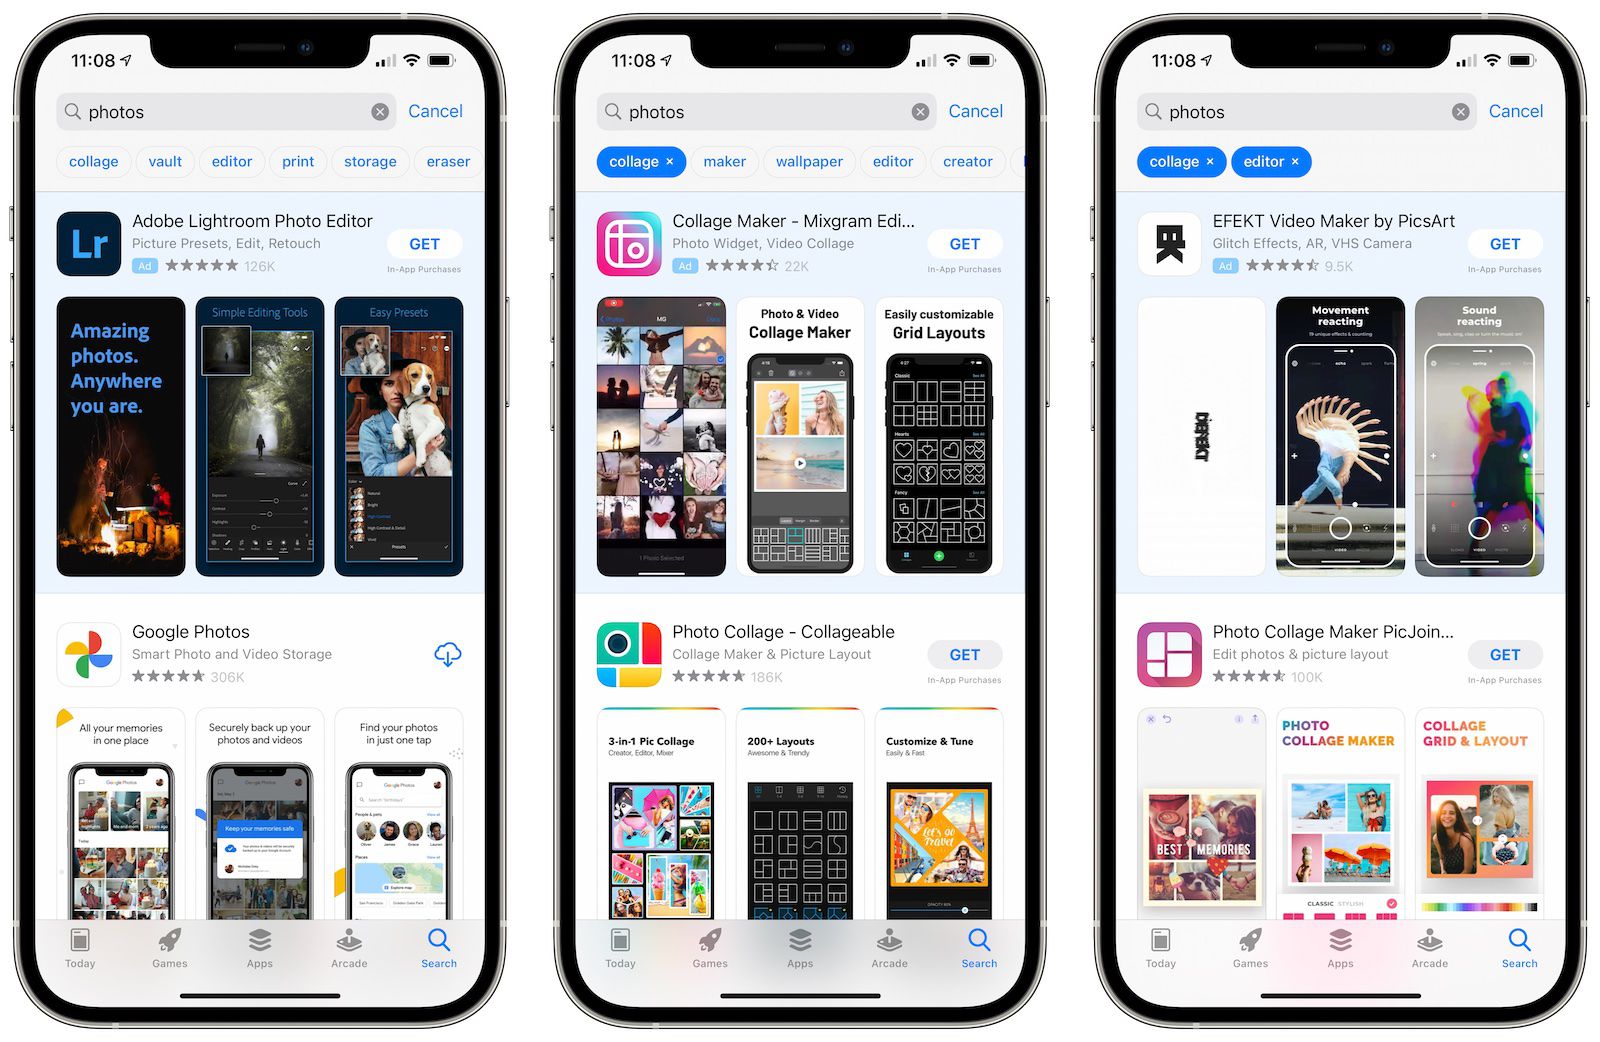
Use keywords in your app name to optimize for customer search and app discovery.
The bundle ID must exactly match the bundle identifier in your Xcode project's Info.plist file (under General > Target's Identity – in the target's General > Identity section).
The SKU is not visible to users and is set up by you. It could be an identifier you use in your company or something meaningful to you. Acceptable characters include letters, numbers, dashes, periods, and underscores, and it must begin with a letter or number.
If applicable, you can also set user access at this step.
Archive the app and upload your app using Xcode
Before you can submit your app for review through App Store Connect, you need to upload a build through Xcode.
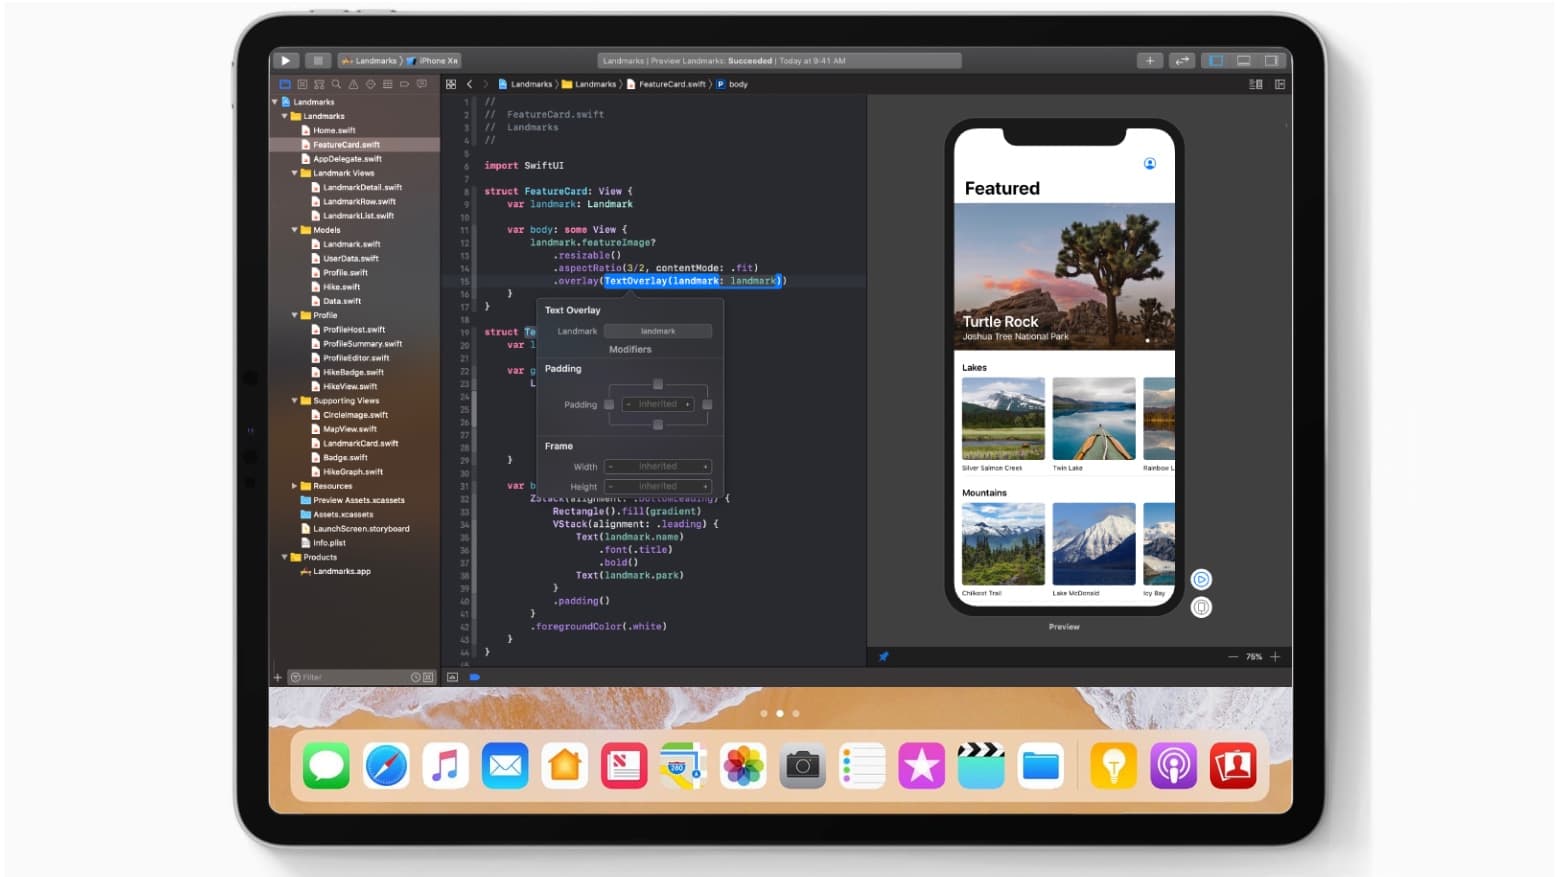
In Xcode, select the Generic iOS Device as the deployment target.
Select Product from the top menu and click Archive.
Xcode Organizer will launch, displaying any archives you previously created.
Make sure the current app build is selected and click Upload to App Store in the right panel.
Select your credentials and click Select.
In the next window that appears, click Upload in the bottom right corner.
A success message will appear when the upload is complete. Click done.
Configure app data in App Store Connect

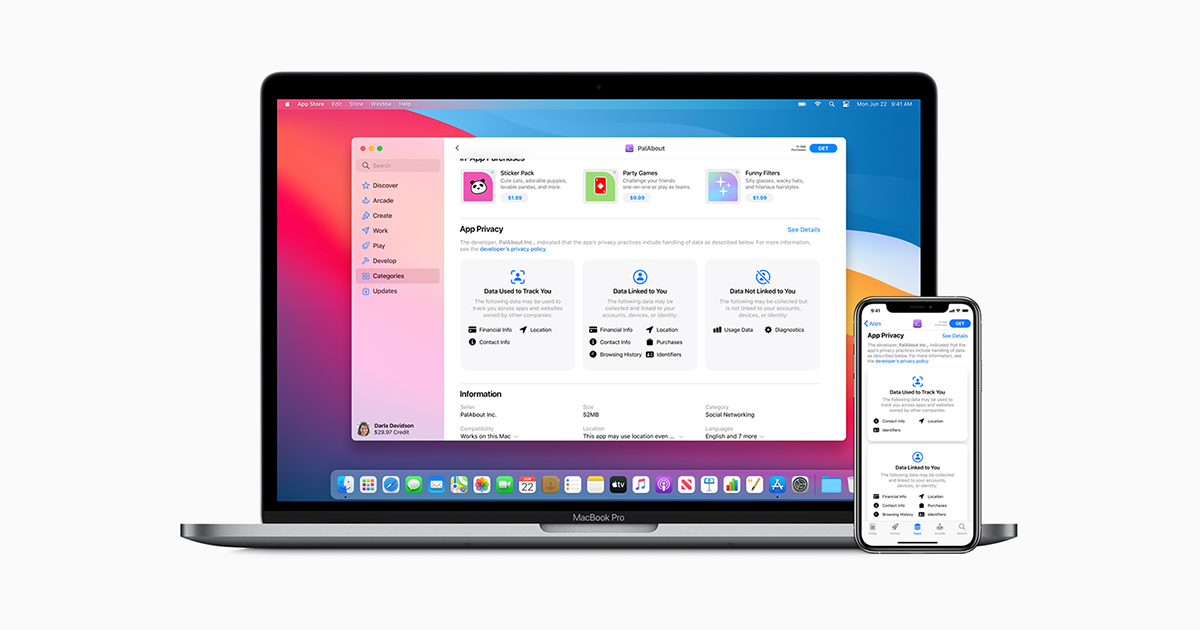
On the “App Store” tab in App Store Connect, on the “App Information” page (“App Information”), you can add your app’s language, additional categories, URL, and privacy policy.
Set your app as free or choose its price on the "Pricing and Availability" page. (Pricing and Availability”)
In the “Features” tab you can add profiles for any of the App Store technologies in your app, like Game Center and in-app purchases.
At this stage, your app is marked with a yellow dot and the status “Prepare for Submission” in the left panel in the “App Store”. Select the build you want to configure. This is where you'll add information for your product page on the App Store.
Upload a screenshot of your app (in JPEG or PNG format). You can upload a set of screenshots for one device and use them for all other sizes.
Click save in the upper-right corner of the window once your screenshot has finished uploading.
Scroll down and enter your app's description, keywords, support URL, and marketing URL.
Your app description and keywords are important. Make sure you optimize them so users can find the app.
The support URL can be as simple as a landing page with a contact form.
The marketing URL (marketing URL) can be your app's website and is optional.
8. In the "General App Information" section below, upload your app icon, enter your app's version number, copyright, and contact information.
Your app icon should be 1024px by 1024px.
The version number must exactly match the number in Xcode.
Copyright information usually looks like this: “Copyright (c) 2017, Instabug, Inc.”
The contact information here is what will be displayed to the user.
9. Click Edit next to “Rating” and select the options that apply to your app. Honestly, your application may be rejected during the review process if it doesn't match the rating you choose.
10. In the “App Review Information” section enter your contact information, any notes you have for the reviewer, and set the release date of the app's version.
The contact information here is for reviewers in case they need to contact you directly.
Notes for reviewers may include information about specific hardware they may need to use or user account information they may need to access.
For early releases, it's generally a good idea to let the version release date be the automatic date.
11. In the top right corner, click Save. You are now almost ready for the final step of “Submit for Review”.)
Submit apps for review and approval by Apple
Scroll to the “Build” section of your app's App Store Connect record
Click “Select a build before you submit your app”. (“Select a build before you submit your app.”)
Select the build you uploaded through Xcode. Click Done in the bottom right corner, then Save in the top right corner, then Submit for Review.
Finally, answer the questions about Export Compliance, Content Rights, and Advertising Identifiers and click Submit.
Your application status is currently “Pending Review”.(“Waiting For Review”.)
Check the status of the application
In App Store Connect, select Activity in the top horizontal menu, then select App Store Versions in the left panel.
How long does it take to get App Store approval?

In most cases, it takes about one to three days to receive approval, and it can take up to 24 hours for your app to appear in the App Store once approved. You will receive an email notification at each approval stage.
If you're on a tight timeline and need to tailor your app release to a specific event, or if you need to release a new version with an urgent fix, you can request an expedited review.
What to do if your application is rejected?
You'll have to make the necessary fixes before you can resubmit your app for review. Use the Resolution Center in App Store Connect to talk to Apple about any questions you may have. You can also report an issue and file an appeal if you think your app was rejected in error.
One of the most common reasons why your app is rejected by Apple is performance. Make sure that your application is complete and that you have thoroughly tested and fixed all errors. Using the bug reporting tool during beta testing will help reduce the chances of your app being rejected due to performance issues.